Quick & dirty vulnerability assessment on Windows

If you want to run a quick vulnerability assessment on a single Windows system, read the following article.

OpenScap

Update November 2022: OpenScap will not get any further updates for Windows – Therefore, please use the SCAP Compliance Checker (scroll down)

openscap/windows.md at maint-1.3 · OpenSCAP/openscap · GitHub

One of the applications I use is the command line tool OpenSCAP – for Windows client and server operating systems, download the latest msi installer from: https://github.com/OpenSCAP/openscap/releases

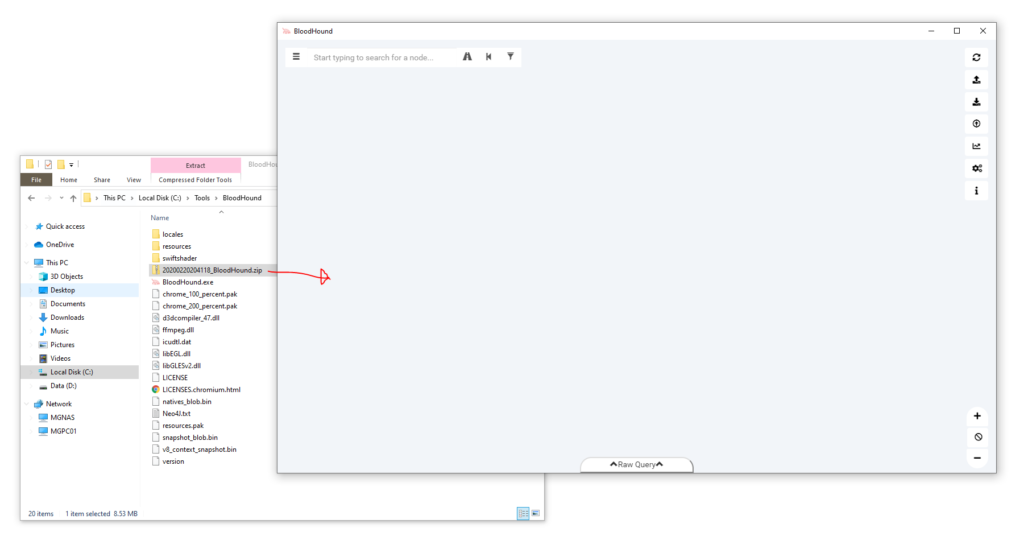
Run the setup and open “Windows Explorer” to go to the path where OpenScap has been installed: “C:\Program Files (x86)\OpenSCAP 1.3.4”

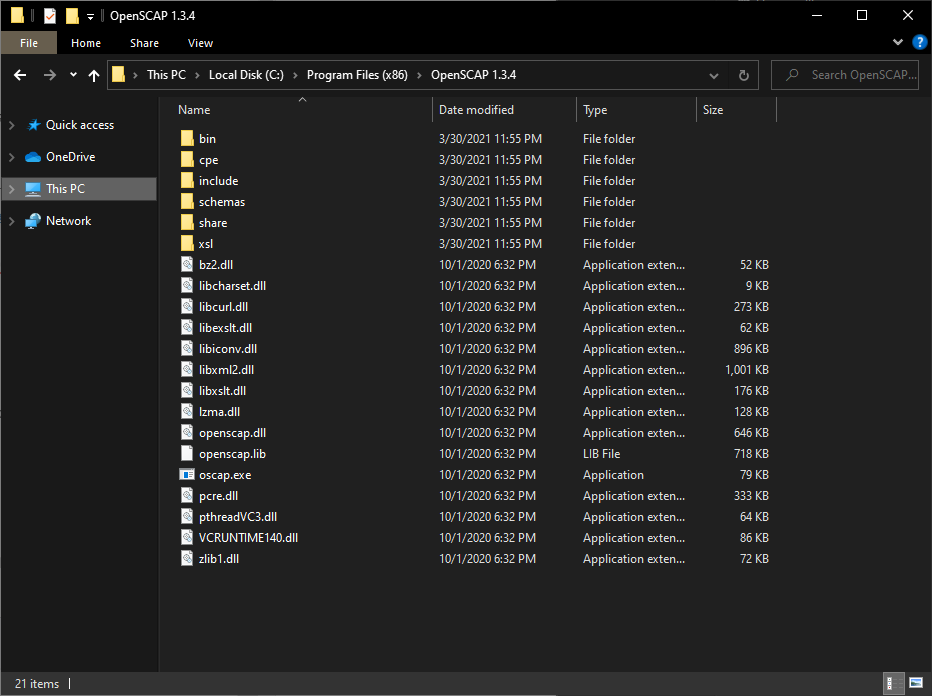
Optional: To make sure you do not have to install the executables on every single system, you can just copy the folder to a central location to reuse it later again on other systems.

SCAP content

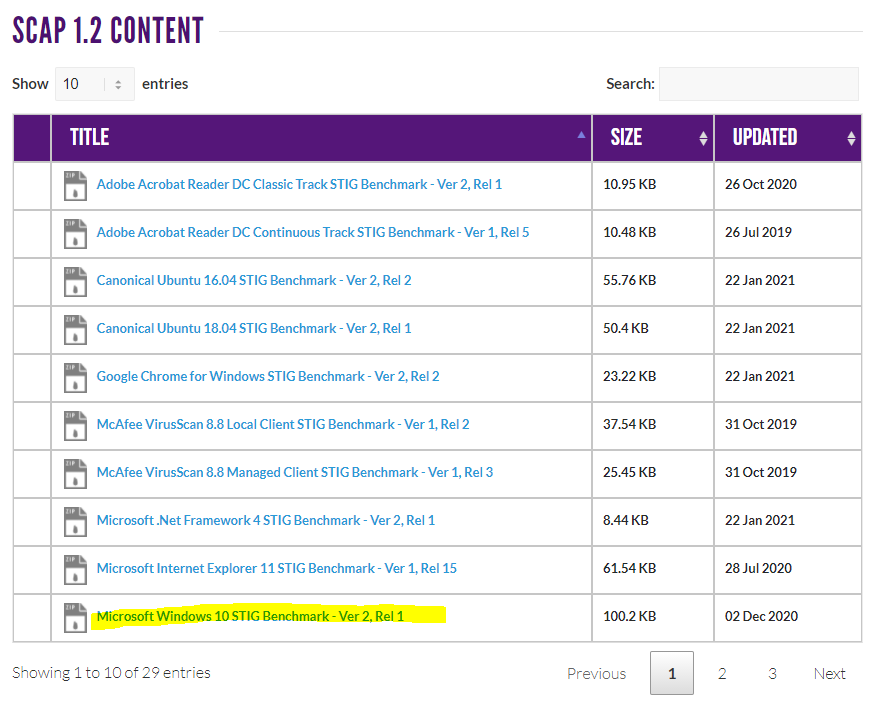
To compare your system against the STIG (Security Technical Implementation Guides) standard, you have to download the STIG Benchmark file for your operating system.

Go to: https://public.cyber.mil/stigs/scap/

…and download the compressed file:

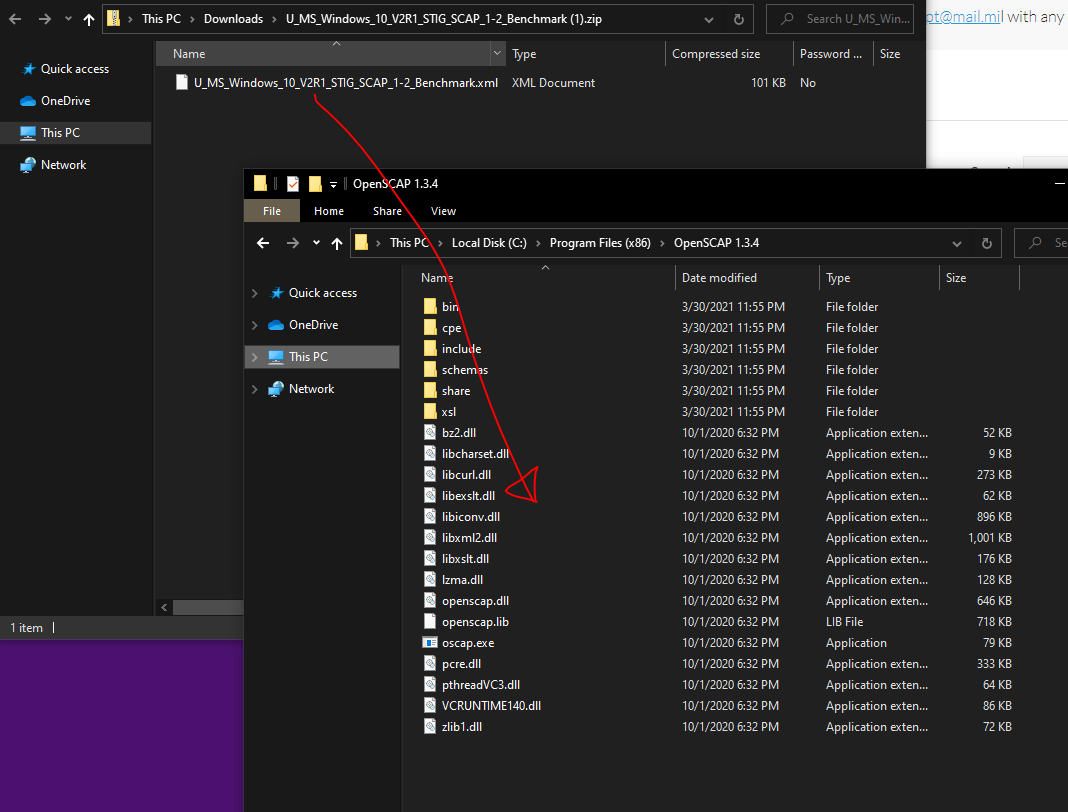
Copy the extracted XML file to the OpenScap directory:

Run the assessment

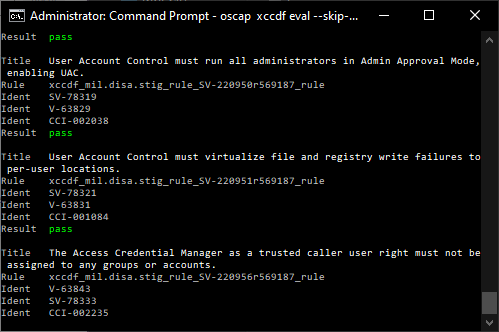
Open a “command pompt” as Administrator – change the directory to the OpenScap path and run the following command (use your downloaded XML file in the command!):

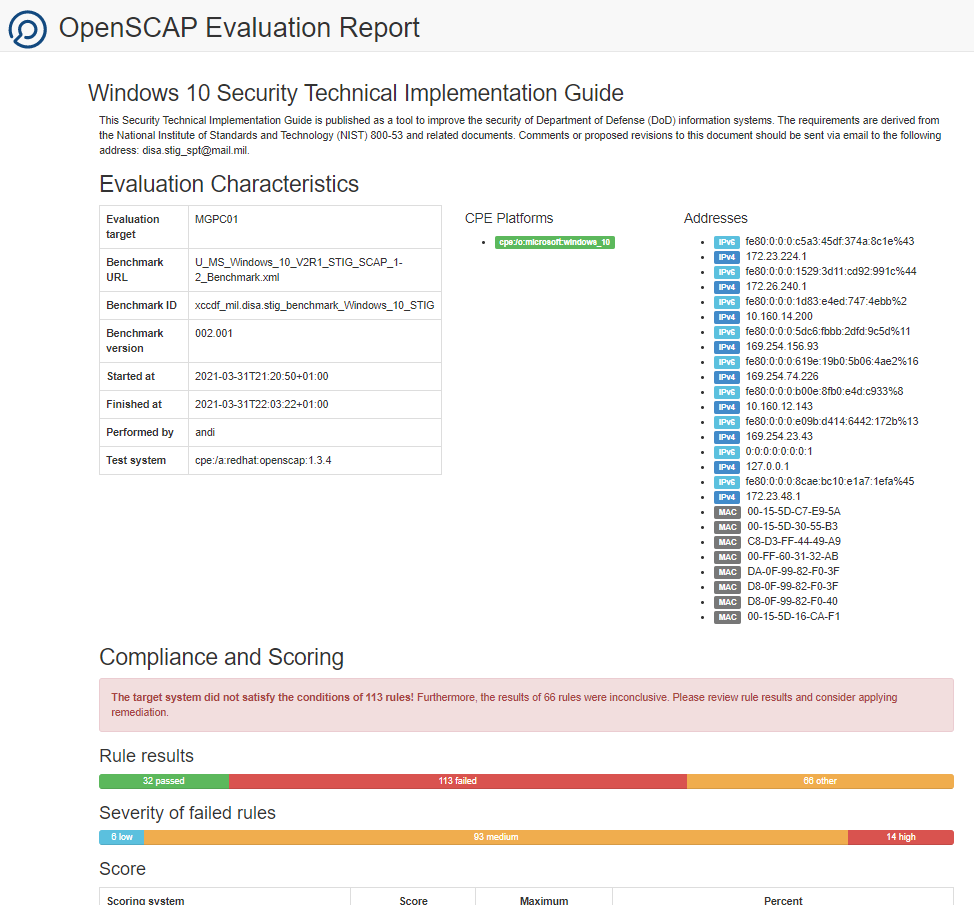
oscap xccdf eval –report report.html U_MS_Windows_10_V2R1_STIG_SCAP_1-2_Benchmark.xml

Open the HTML report “report.html” and check each finding and remediate it if possible (depends on compatibility to other systems / system landscape / specific requirements / down Level compatibility / etc.)

SCAP Compliance Checker (fast & easy)

Another option is the SCAP Compliance Checker – Download “SCC 5.5 Windows” from: https://public.cyber.mil/stigs/scap/

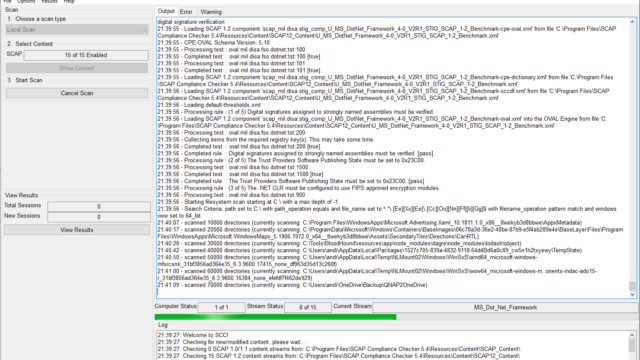
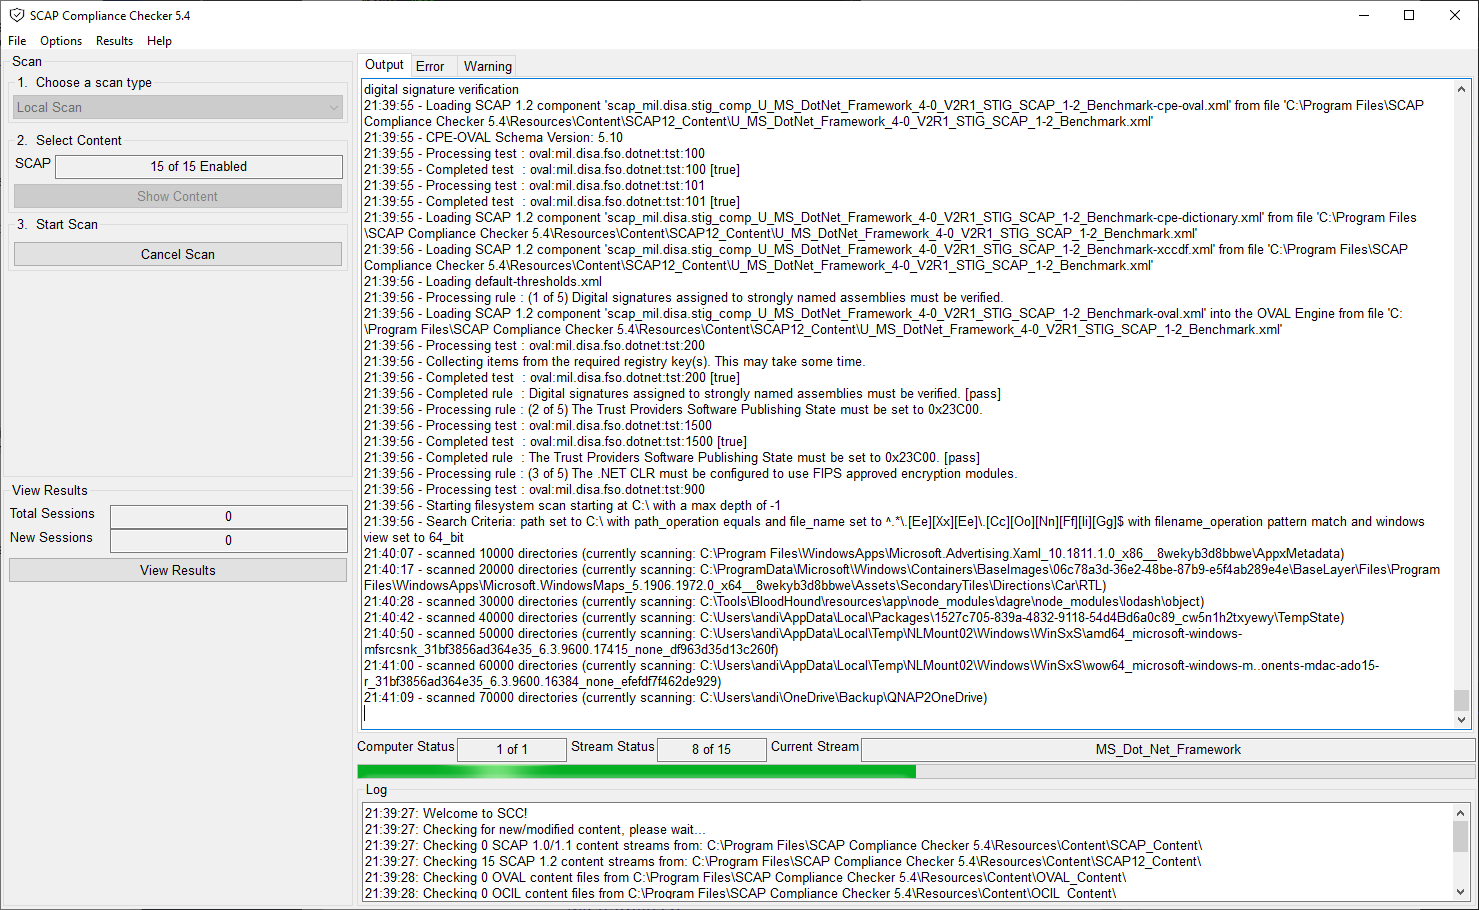
Install the setup and run a scan (by default it checks against all available benchmarks):

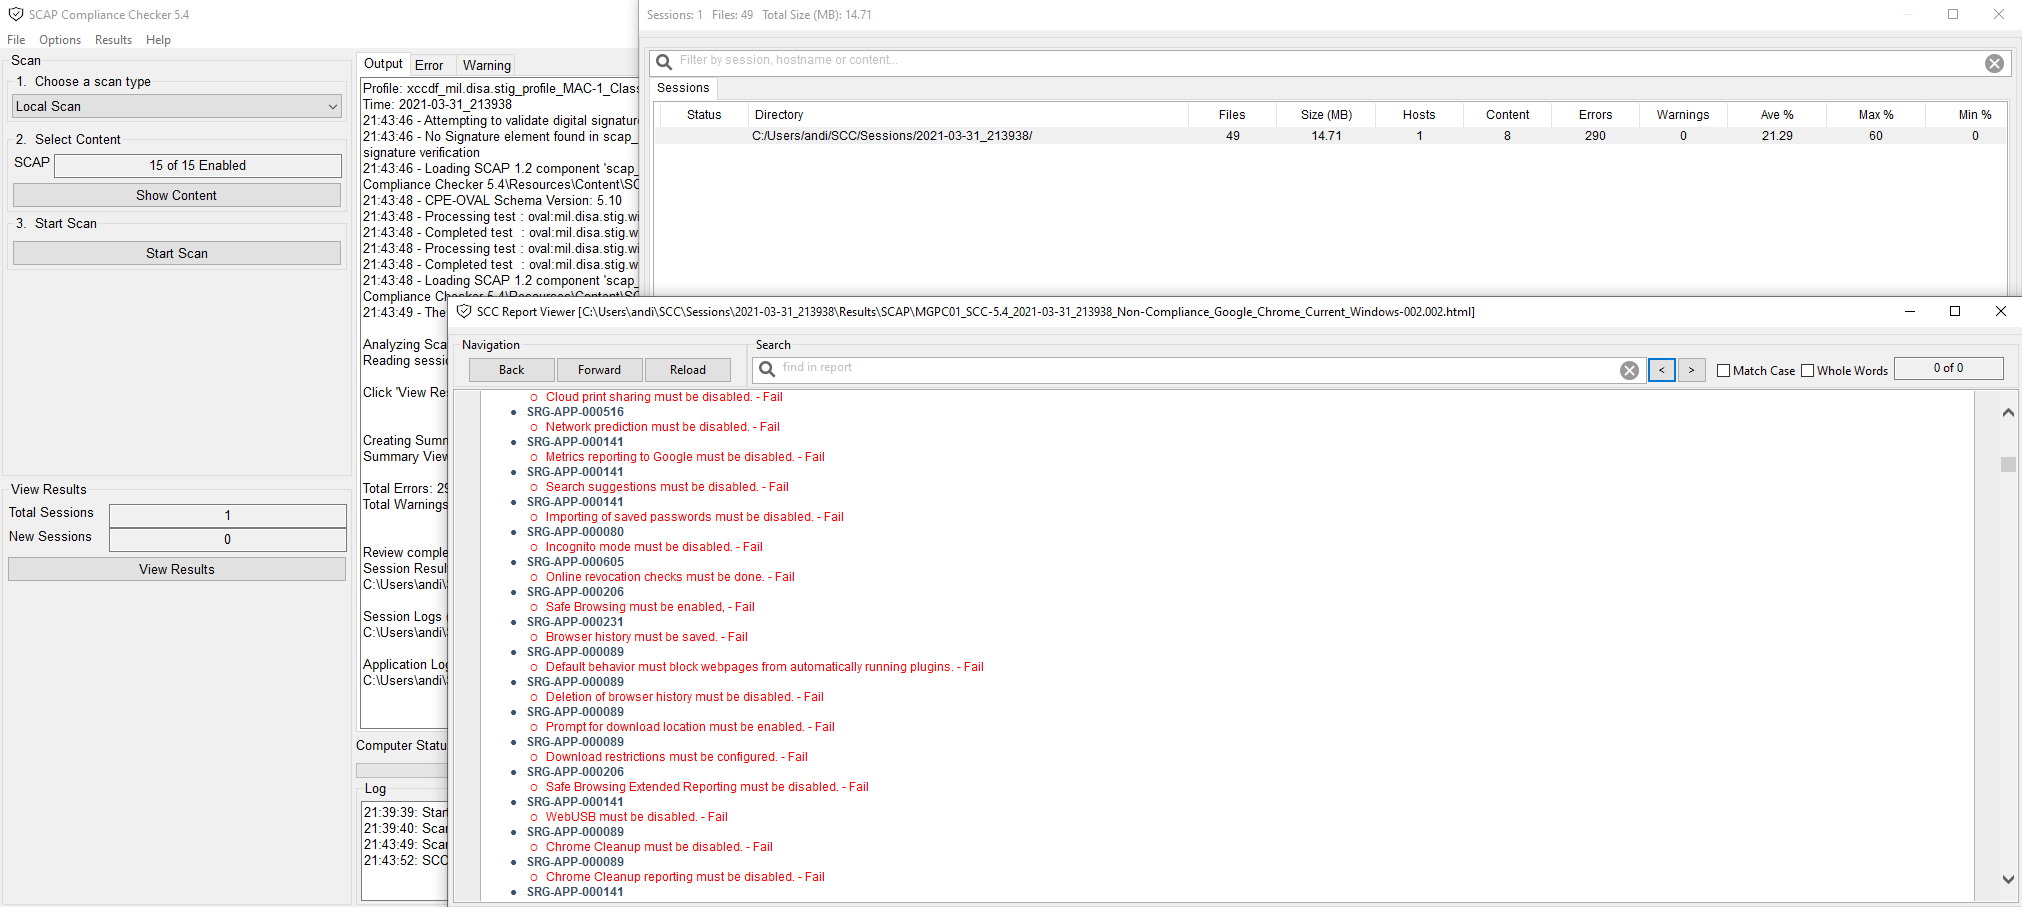
When finished, you can review the findings and recommendations directly within the tool:

Stay safe…

Luxtronik 2.0 Heatpump JAVA and HTML Access

Using the information herein is at one’s own risk!

Update firmware

Download heat pump specific (AIT, Novelan, CTA, Wolf, etc.) firmware from https://www.heatpump24.com/DownloadArea.php?layout=1

I was able to find mine by choosing any WP Type, then choose “Please select type” and scroll down to the model. In my case CS 10is-BWW – Use the download button on the right side to get the file.

Safe the file “wpreg.V1.86.2” to a FAT32 formatted USB pen drive and use the drive to update your heat pump: Video instructions by Novelan

New HTML “Heatpump Controller”

After the update, the old JAVA management is gone and a “new” interface without java appears by accessing the URL of your heat pump (http://ipaddressheatpump):

As some features (heating curve, temperature adjustments, thermal disinfection, etc) are missing on the new interface I wanted the old interface somehow back – after checking telnet access and available files, I found the old wp.jar on the root of the web folder.

Enable the old interface in parallel

I was able to get the original content of index.html from an older version. A new html file with a different name is now required to access wp.jar:

Create another html file for wp.jar

Use telnet (for example with putty) to access your heat pump:

Enter root as user and press [Enter] / leave the password blank and press [Enter] / type cd /home and press [Enter]

type “vi java.html” and press [Enter]

Copy the code below:

<!doctype html public "-//W3C//DTD HTML 4.0 Transitional//EN">
<html>
<head>
<title>WEBSERVER - Wärmepumpe - Heatpump</title>
</head>
<body>
<table align="center" valign="center" width="100%" height="1000px">
<tr><td>
<applet code="communication.WpApplet" archive="wp.jar" width="100%" height="100%">
</applet>
</td></tr>
</table>
</body>
</html>

type “i” and paste the code into the editor / press [Escape] / type “:wq” to save and close the file

The old interface is now reachable on http://ipaddressheatpump/java.html

…and the new one as it was before:

Problems with JAVA and new Browsers (Windows 11)

If you face issues, using JAVA, you have two options: You can use the “IE Tab” Addon: IE Tab – Microsoft Edge Addons or set Edge into Internet Explorer compatibility mode:

Add URL in Edge to use the “IE mode”

Java Security settings

Make sure to add the URL to the exception list under Security within the Java Control Panel.

Java version?

Make sure to use the 32-bit version of Java: Java Downloads for All Operating Systems

Use and prevent Mimikatz

Mimikatz is is an application that allows you to view, save and use authentication credentials and even more.

The following examples are simple and do not require a master’s degree in computer science. As an Admin you should go trough the article to make sure you know how to prevent your infrastructure from a Mimikatz attack. Specially if you use older Operating systems!

Continue reading “Use and prevent Mimikatz”

Securing Active Directory

Everything seems to be ok and nobody complains, but there is always room for improvement. Especially when it comes to security.

Unfortunately, an updated operating system and antivirus solution are no longer sufficient to be safe. Assessment help to get an overview about risks, misconfigurations, legacy configurations and optimisations.

Active Directory Assessments

Microsoft RAP as a Service

Microsoft offers a service called “RAP as a Service” where you can choose (not for free!) assessments of multiple technologies. One of their offering is an Active Directory Security RAP. The assessment opens your eyes to what is not optimally configured and fills the task list of every AD responsible. The services is quite good but there is one problem: You need a “Microsoft Premier Support contract”. Not every company has such a contract as they are expensive and third parties offer similar Support offerings.

Give it a try if you’re eligible to use it: https://services.premier.microsoft.com/assess?Culture=en-US

In addition to these paid offers, there are also freely usable tools.

PingCastle

Ping Castle is an Active Directory Security Assessment tool which helps to detect security issues, get an overview of the technical situation and provide guidance and advice’s to fix the issues.

There is a free version available with basic functionalities. The tool scans you Active Directory objects, permissions, GPOs and many more (remote SMBv1 check, specific user permission scan, …) and generates a report against >100 checks to get an indicator of the Domain risk level. Details on all findings can then be remediated by going trough each documentation:

If you need more features, there are three paid version which come with additional benefits:

Give it a try!

https://www.pingcastle.com/

https://github.com/vletoux/pingcastle

Path to Domain Admin

Collect data

To collect data you need a tool called SharpHound.exe

Download it from: https://github.com/BloodHoundAD/BloodHound/tree/master/Ingestors

Run the following command with a normal “Domain User” to enumerate Group Membership, Trusts, ACLs, ObjectProps, Containers, and GPO Local Admins within a Domain:

SharpHound.exe -c DCOnly

When finished, a zip file should have been generated – example: 20200220204118_BloodHound.zip

Database

Data must be stored in a database. BloodHound is using Neo4J.

Download it from: https://neo4j.com/download/

Make sure to safe your Desktop Key. You’ll need it later.

Install the application and run it (enter your Desktop Key) and Neo4j Desktop windows appears.

Change the Project Name to BloodHound:

Add a graph: Name it BloodHound and choose a password (need this to login with BloodHound.exe later on) > click Create

Open the settings of graph BloodHound and start it: Press play button

Visualize data

To visualize the collected data you need BloodHound.

Download it from: https://github.com/BloodHoundAD/BloodHound/releases

Extract the zip file to “C:\Tools\BloodHound”

Start “BloodHound.exe” and enter the password which you’ve set while creating the graph (do not change Database URL and Username!): click on Login

Drag the zip file into BloodHound windows and wait until it’s fully loaded into the database.

Finding the shortest path to a specific user

Enter the Start Node (user), Target Node (for example Domain Admins) and press Play:

The result will show the path to Domain Admins:

Pre-Built Queries

BloodHound has as well a lot of interesting pre-built queries:

Active Directory password filter

I want to share my experience about a product called safepass.me

Some months ago I was searching a product which prohibits users to use “unsafe” passwords when changing their password. In simple words: “a password filter”

I found some self-made solutions which could be adopted, but they rely on a huge database, additional infrastructure or others require a direct connection to the internet (see Links).
As the solution must run on every Domain Controller the non-commercial solutions, the ones using additional infrastructure and the products require an internet connection did not made the race.

Finally, I found safepass.me, which uses a special technology to keep the amount of data (denied passwords list) small and no data is sent to the Internet. The “denied password list” is stored locally on every “Domain Controller”.

Insecure password

Unsafe passwords are passwords which can be cracked easily because of its lenghts and complexity or they are just known passwords.

At first glance, the following passwords look quite safe. They are complex, have at least 8 characters, so they should be safe. But… no, they aren’t!

  • Passwort2
  • Herbst18
  • Abc@12345
  • Winter17
  • Albert123
  • P@ssw0rd!
  • Winter18
  • 123qweASD
  • Aaa123456
  • July2018
  • Monkey123
  • Welcome11

Check passwords above or your own password on Have I been Pwed to see how safe it is:

https://haveibeenpwned.com/Passwords

How safepass.me works

When a user changes his password, the safepass.me application on each Domain Controller checks the new password against known passwords in the local database and blocks all compromised passwords. The local database is an improved (reduced size) version of HaveIBeenPwned.

Installation

  • Download the current version from http://safepass.me/download
  • Install the application on every Domain Controller.
  • Save license file on each Domain Controller under C:\Windows\System32\safepassme\safepassme.lic
  • Done

Links

Check if your AD passwords are compromised in a data breach

To compare Active Directory accounts against breached passwords you need access to your Active Directory with a specific privileged account, a password list with NTLM hashes and some PowerShell commands.


But why should you do this?

  • Password hashes of Domain accounts can be dumped locally from SAM, memory, remotely and as well just with Windows built-in features (memory dump).
  • Users with well known passwords (compromised passwords) are extremely easy to “recover” by using password lists
  • Therefore the passwords of these accounts must be changed to reduce the risk of getting easily “hacked”.

Password list

As the download of the password list could take a while, start downloading the latest version from: https://haveibeenpwned.com/Passwords

Make sure to download the NTLM password list (version 4 or newer).

When finished, extract the file: I’m using C:\temp\pwned-passwords.txt as target.

Export password hashes from AD

You do not have to be a member of the Domain Admins, Enterprise Admins or the Administrators group, but you need the “Replicating Directory Changes All” permission on Domain level.

Install PS Module

Now launch PowerShell and run:

Install-Module -Name DSInternals

More info about module: https://www.powershellgallery.com/packages/DSInternals/

Set credentials

Now you have to run another command in PowerShell, then enter the credentials which are delegated on Domain level with ReplDir permissions:

$mycredentials = Get-Credential

Enter credentials

Export users and password hashes of all users to file

Run the following command within PowerShell to “pull” all account information from the Domain Controller of your choice. When finished, the hashes are saved in the file c:\temp\hashes.txt

Get-ADReplAccount -all -NamingContext “DC=Domain,DC=local” -Server Domaincontroller.domain.local -Credential $mycredentials | Format-Custom -View HashcatNT | Out-File c:\temp\hashes.txt -Encoding ASCII

Make sure to change Domain name and Domain Controller!

Compare it…

Download PowerShell script from https://github.com/DGG-IT/Match-ADHashes/ and save the file to c:\temp\

Load function and compare hashes

Run the following command to load the function:

.\Match-ADHashes.ps1

Make sure you run it from c:\temp

Start comparison:

$list = Match-ADHashes -ADNTHashes C:\temp\hashes.txt -HashDictionary C:\temp\pwned-passwords.txt

save result to a list

Export into CSV

Write output to a CSV file:

$list | select Hash,Frequency,@{Name=’user’;Expression={[string]::join(“;”, ($_.user))}} | Export-Csv -Path c:\temp\report.csv -Delimiter ‘;’ -NoTypeInformation

Result

Open the CSV and make sure to remediate all accounts. Set priority on privileged accounts. These must be changed immediately!